How to make powerful self portraits
There’s something special about photographing yourself. Not in the rushed, arms-length kind of way we know from selfies, but with intention. When you’re behind the camera and in front of it at the same time. It’s a process that might feel awkward at first, but one that brings so much creative freedom once you allow yourself to explore it.
A self-portrait gives you the opportunity to express exactly how you want to be seen. You’re in full control of the story: from the light and setting to your expression and pose. And when you practice regularly, it also becomes a way to grow; not only technically, but also artistically.
The power of self portraits
A self‑portrait is a mirror: not just of how you look, but of who you want to be seen as. It’s your choices that define the mood: confident, introspective, vibrant. And because you're your own subject, you get infinite practice with light, focus, composition, and expression. The best part? Your model is always available.
Gears & tools; set yourself up for success
For great results, it is important to be able to stabilise your camera. Whether you use your phone or your camera to take self-portraits, a tripod is the most important accessory for achieving good results. Tripods come in all shapes and sizes. Which one suits you best depends on your equipment and the situations in which you will mainly use it. I personally love my Sirui W-2204 but I bought it with the intention of photographing landscapes, not self-portraits. So it may not be the best for you. If you don't have a tripod, you can also use a stack of books, a sturdy shelf, or a box.
The most annoying part about taking self-portraits is constantly having to walk back & forth. This is why a remote control is a useful tool to have in your endeavor in self-portraiture. Wireless remote controls are the most practical for this. This way, you don't have to hide any cables in post-processing.
Instead of a remote control, you can also use your phone. Many modern cameras offer the option of connecting via an app. Which app you use depends on the camera brand. Examples include Camera Connect for Canon, SnapBridge from Nikon, the Creator's App from Sony, or LUMIX Sync from Panasonic. A big advantage is that you can see what the camera sees directly on your phone and often adjust settings as well.
Camera settings that work
However much I would love to give you an exact recipe that you could use, there is no universal set of settings. Light, subject, and creative choices differ depending on the situation. However, I do have guidelines that can help you achieve good results. It is best to set the camera to manual mode. This gives you complete control over shutter speed, aperture, and ISO. Make sure the shutter speed is fast enough to freeze movement. A minimum shutter speed of 1/125 second is recommended, but faster is often better.
Then choose an aperture that suits your purpose. For a portrait with a soft, blurred background, use a large aperture, such as f/2.8 or f/4. If you want to show more of the surroundings and broaden the story, a smaller aperture such as f/8 or f/11 is a better choice.
Set the ISO as low as possible to reduce noise. If there is little light, you can of course increase it. Most cameras nowadays can handle higher ISO values without too much loss of quality.

Tell a story with self portraits
A self-portrait does not have to be purely a record. By consciously considering composition, location, and expression, you can create an image that conveys a feeling or story.
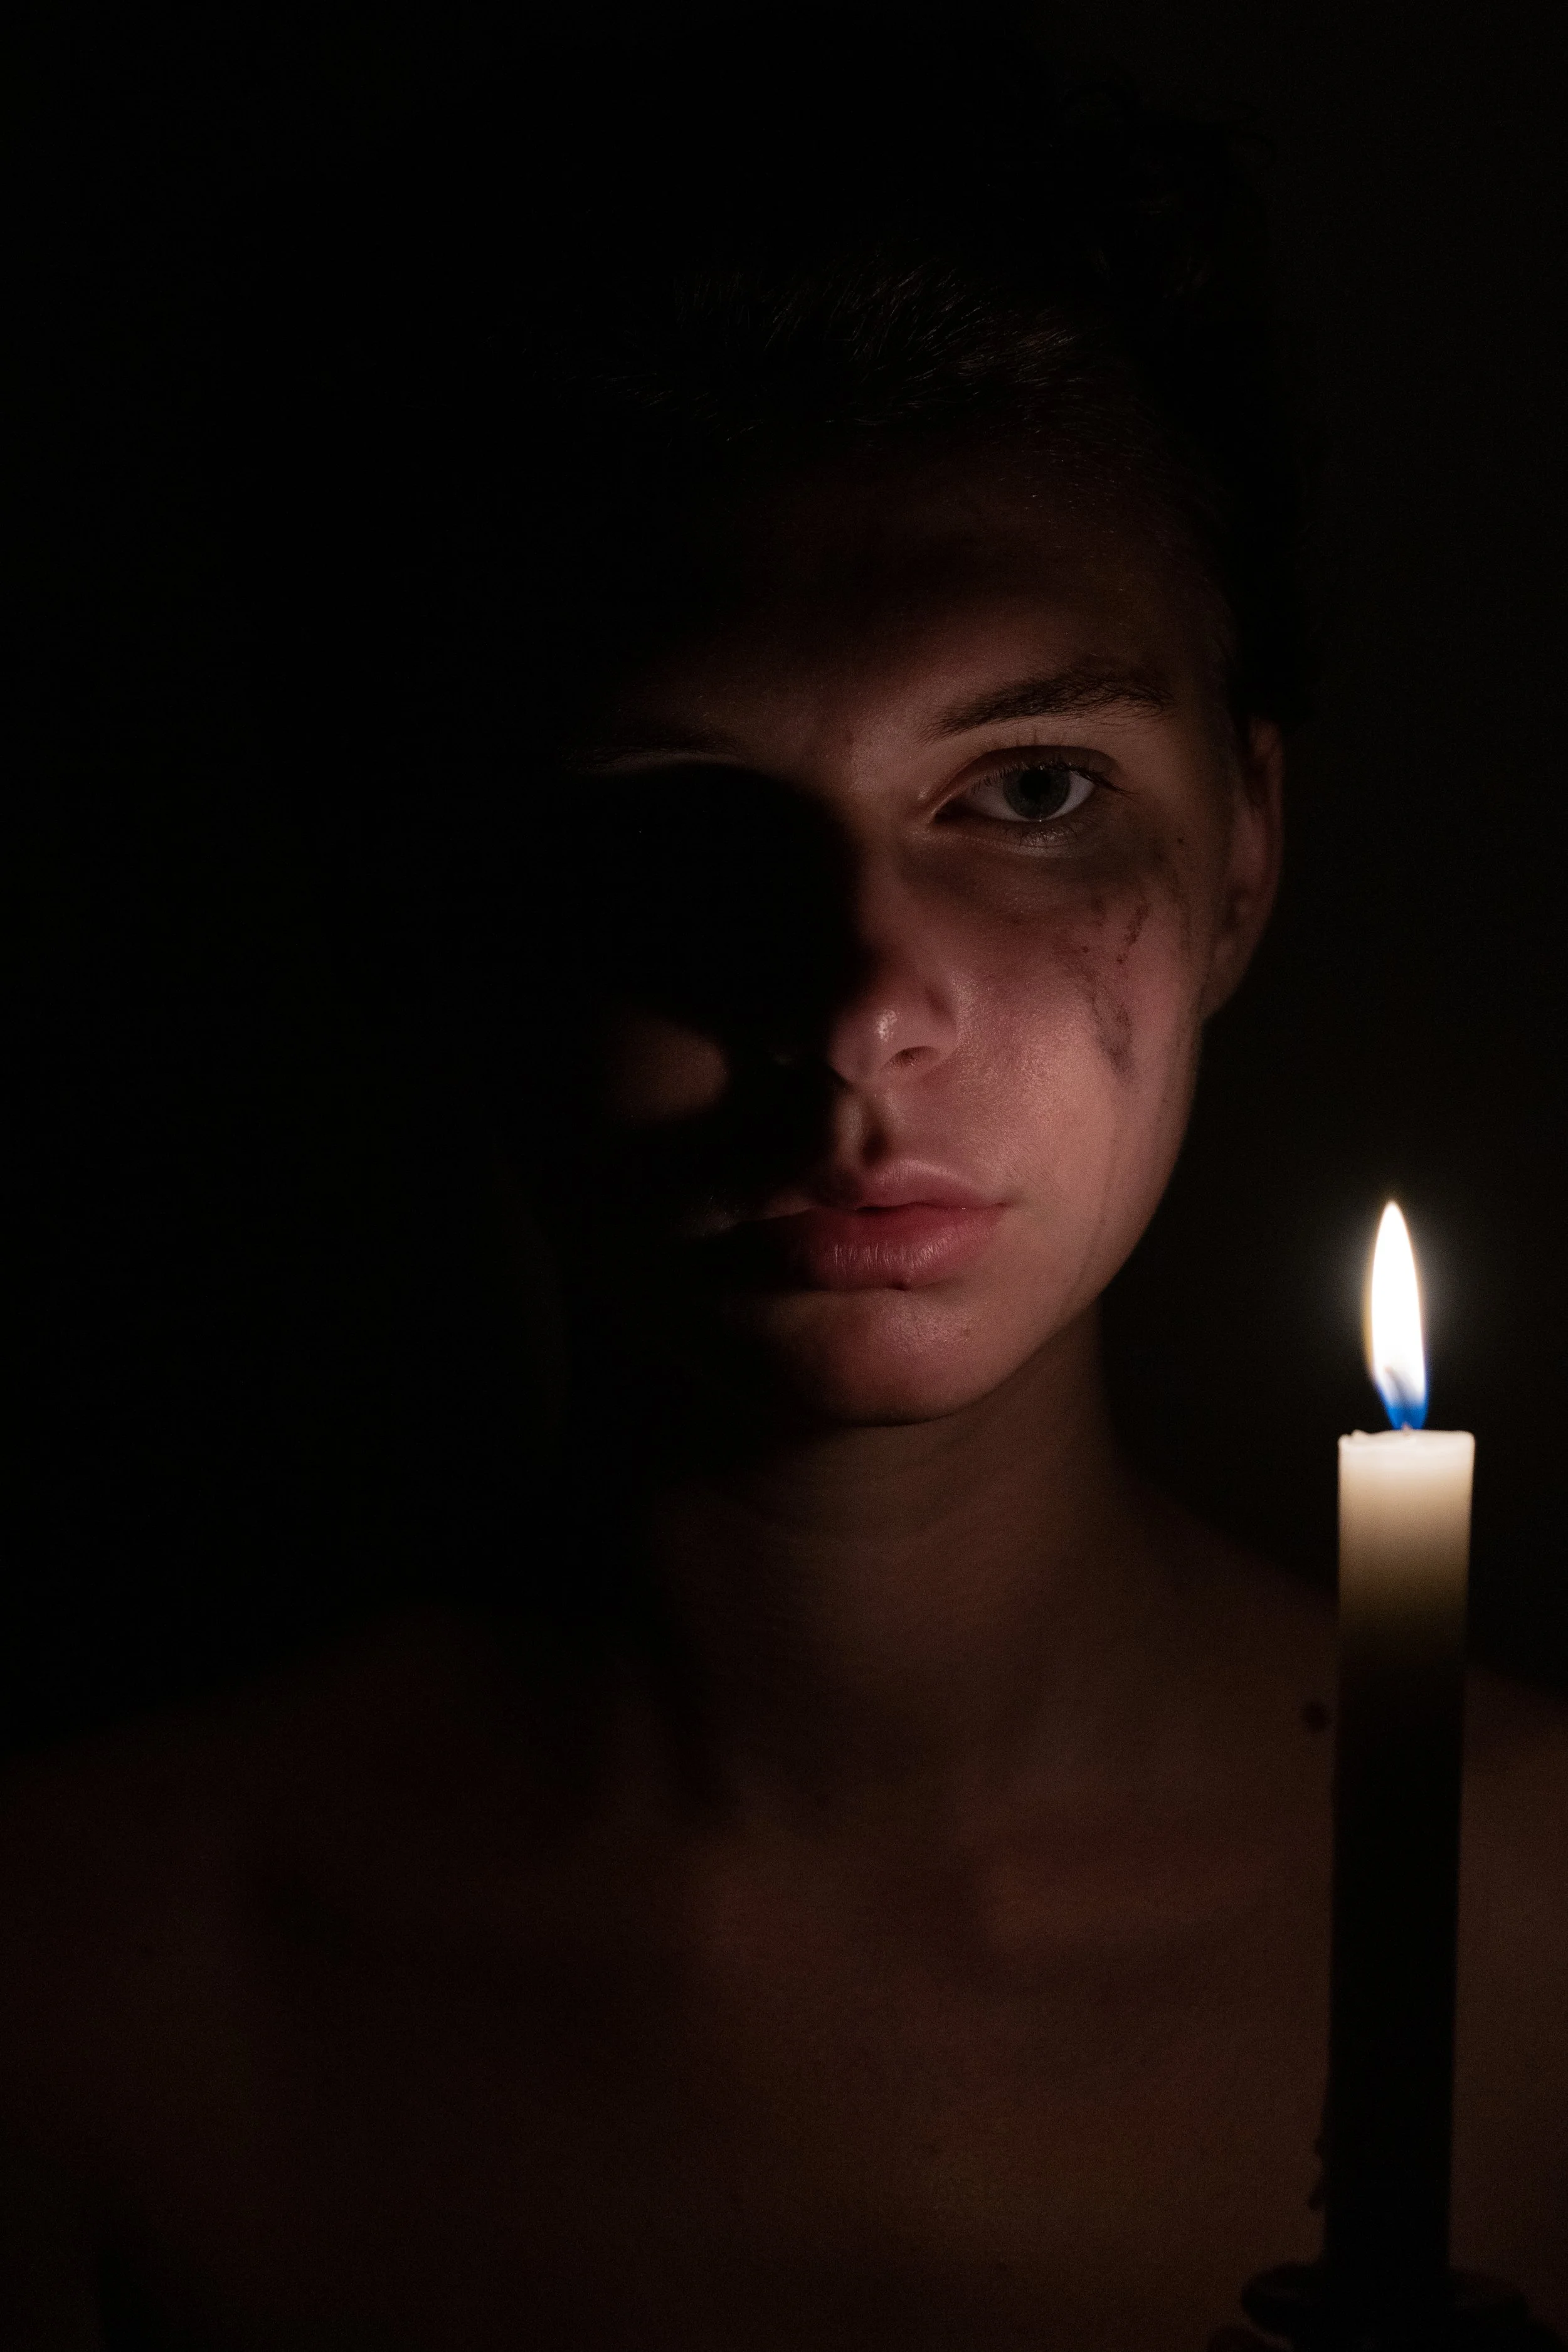
The way you are positioned in the image directly influences the atmosphere. Are you standing in the centre or off to the side? Is there a lot of space above your head or not? By playing with position, framing, and cropping, you can give the photo direction. A central placement radiates power and confidence, while an asymmetrical composition can suggest more calm or distance. Also, consider the relationship between you and the rest of the image. A close-up emphasises emotion and detail. A wide shot in an empty environment can evoke a feeling of loneliness, tranquillity, or space.
The location is just as important. A self-portrait outdoors in nature tells a different story than a portrait in a studio or living room. Every place has its own atmosphere, so make sure the environment supports your story, not distracts from it. Cluttered elements or distracting lines can take attention away from the model (you!). Those who consciously interact with the environment can subtly add extra layers to the portrait.
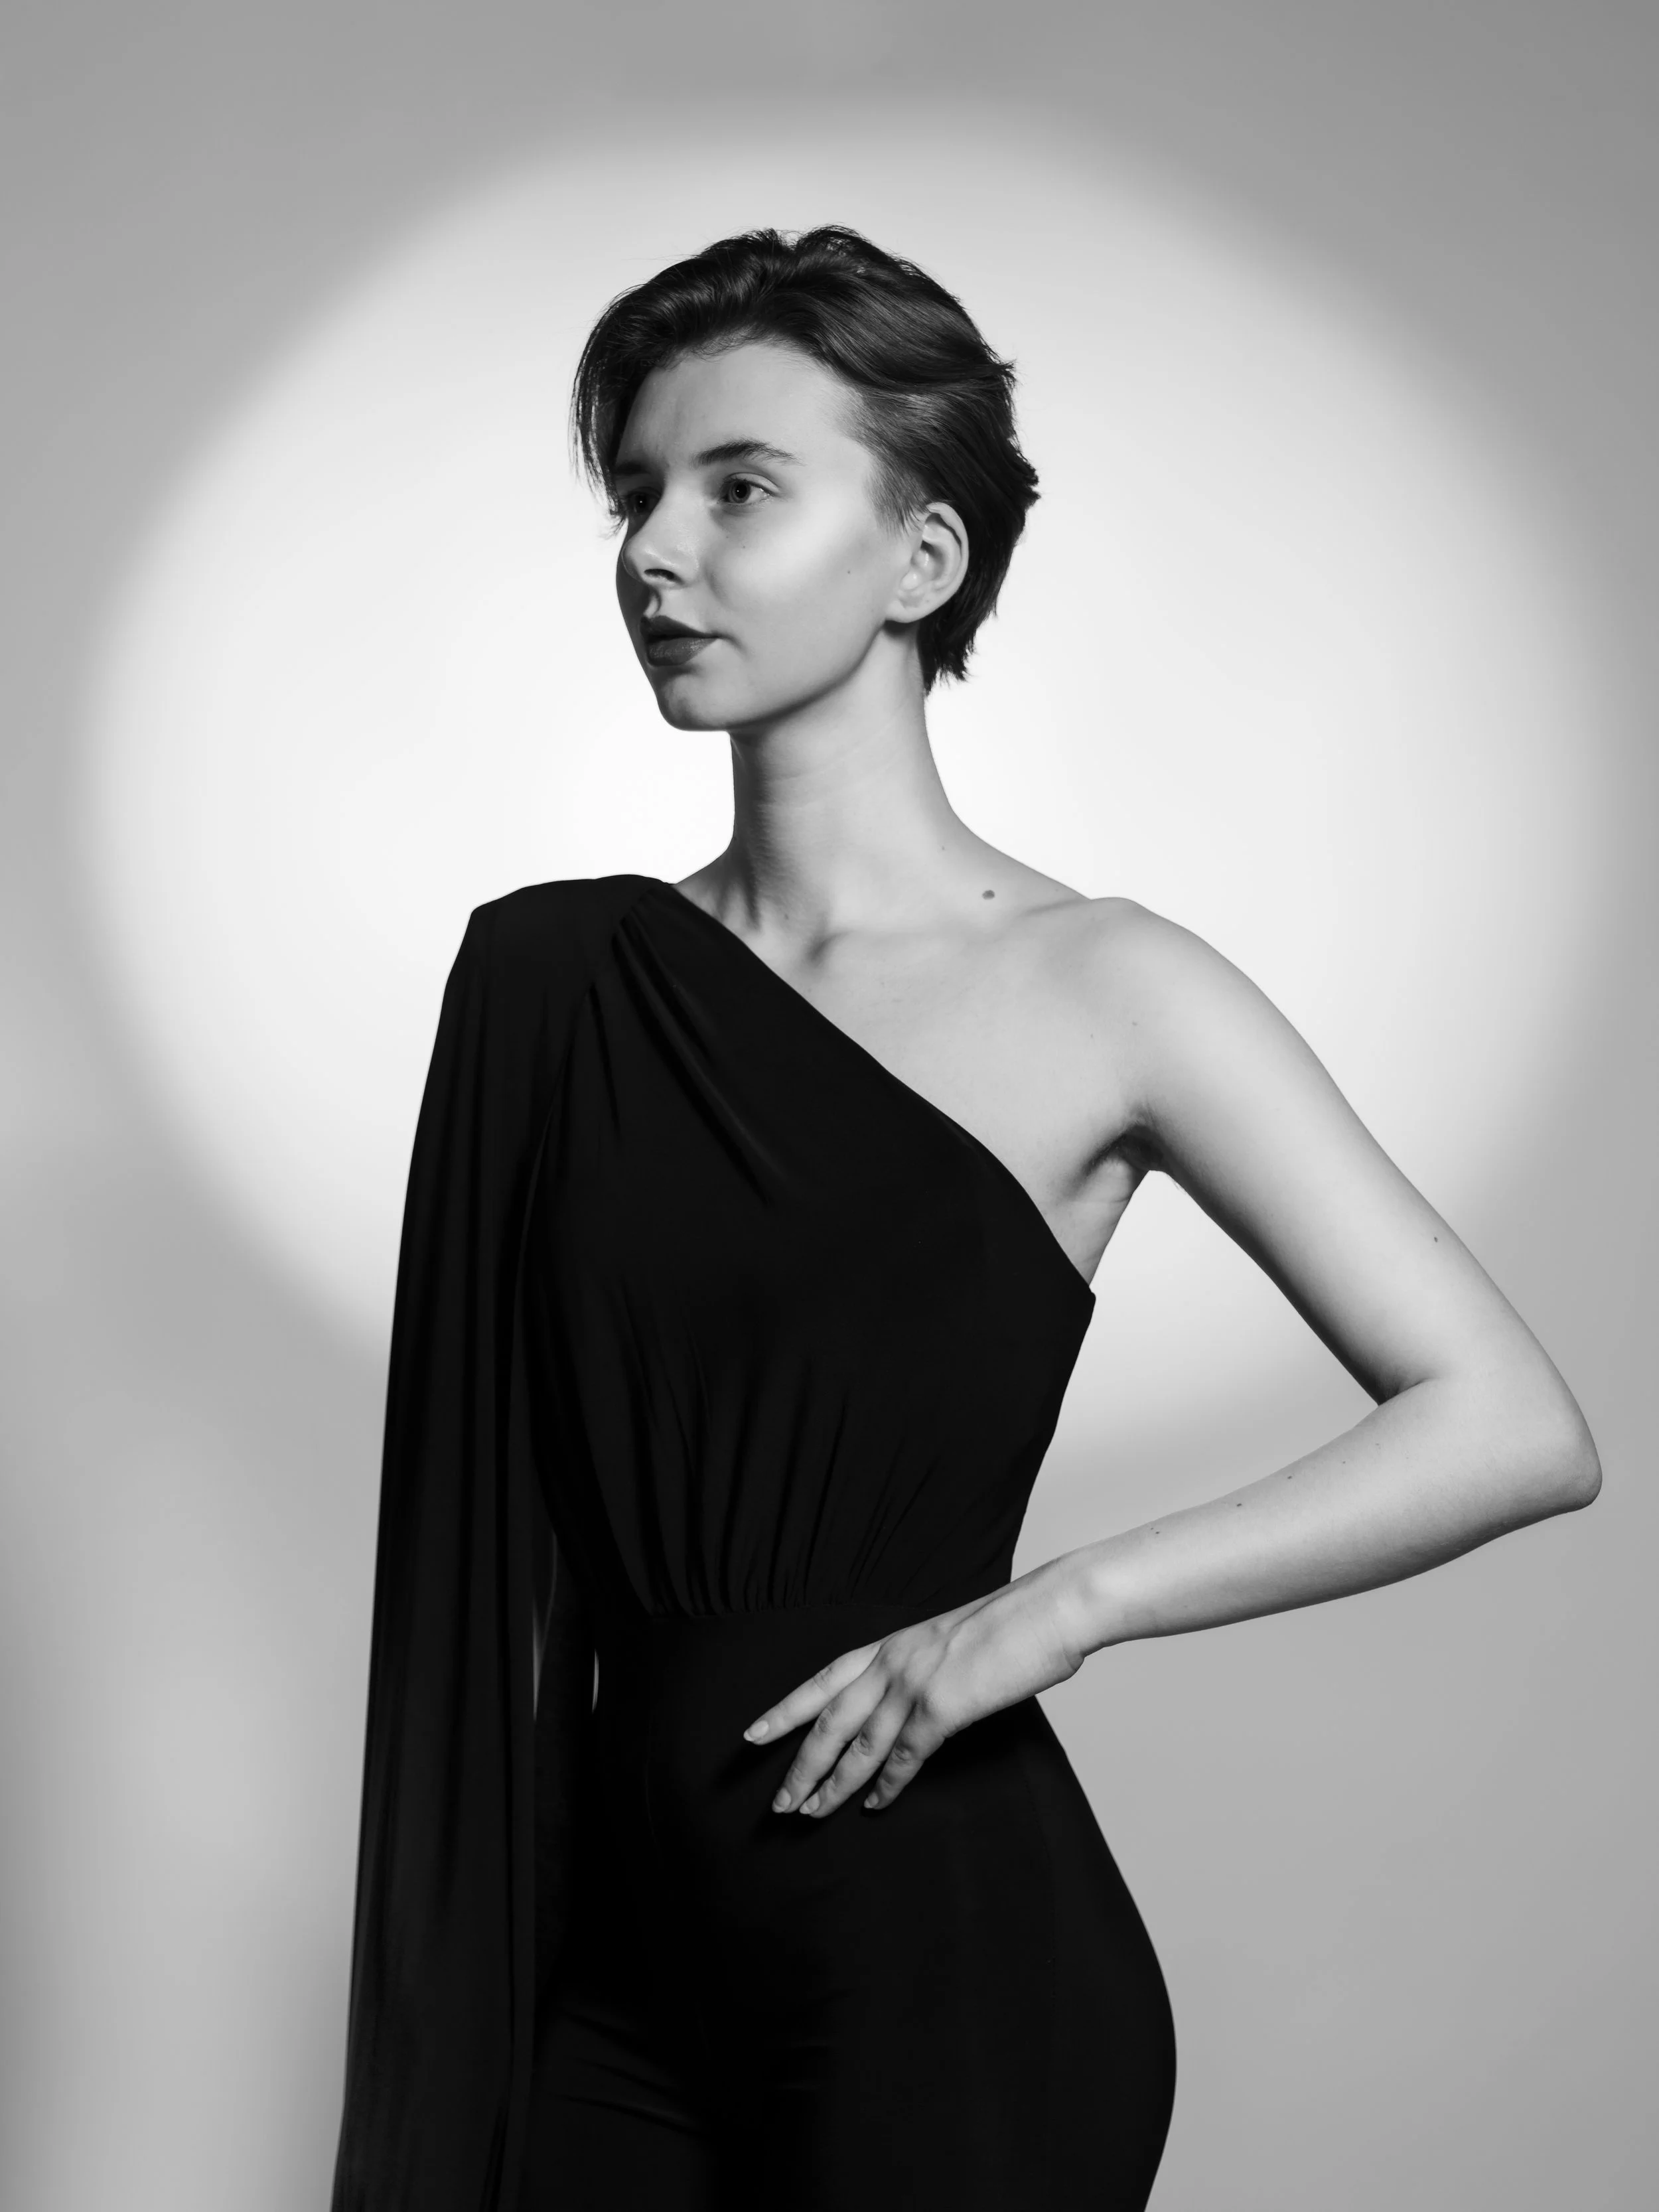


A well-chosen object in the frame can reinforce the story. Think of a book, a camera, a musical instrument, or a cup of coffee. Props don't have to be large or striking. Even a simple chair, a pair of glasses, or a coat can provide context. Always choose something that fits the atmosphere you want to convey. Clothing choices also play a role here. A business outfit gives a different impression than a casual jumper or blouse. Match colours and materials to the background and lighting to create a balanced whole.
Expression is also decisive. A smile makes the image open and friendly. A neutral gaze looks calmer and leaves room for interpretation. Try closing your eyes, looking down, or looking away from the camera. By not looking directly at the viewer, the portrait can feel more intimate or more distant. A portrait with emotion stays with you longer. Try not to act, but feel what you want to show. Often, a small change in the mouth or eyebrows is enough.